How to create a user without sending invite in Grafana 7.2.0.
Sometimes you need to create a user in Grafana avoiding sending invitation to an e-mail. It is possible to do easy and fast way.
This manual is valid for Grafna version 7.2.0., but it will surely work for earlier and later versions of Grafana as well.
Step 1 : Create a fake invitation
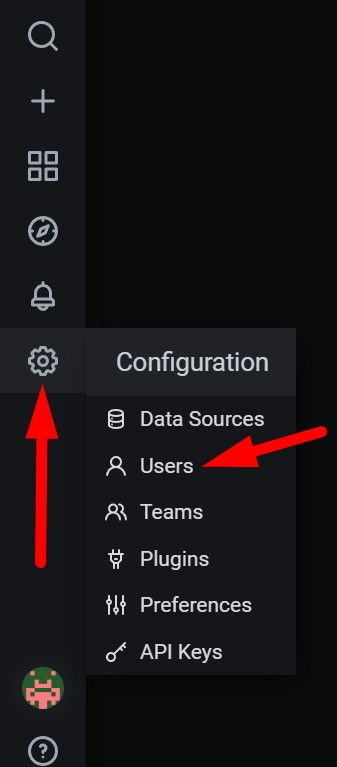
Go to settings and enter Users section:
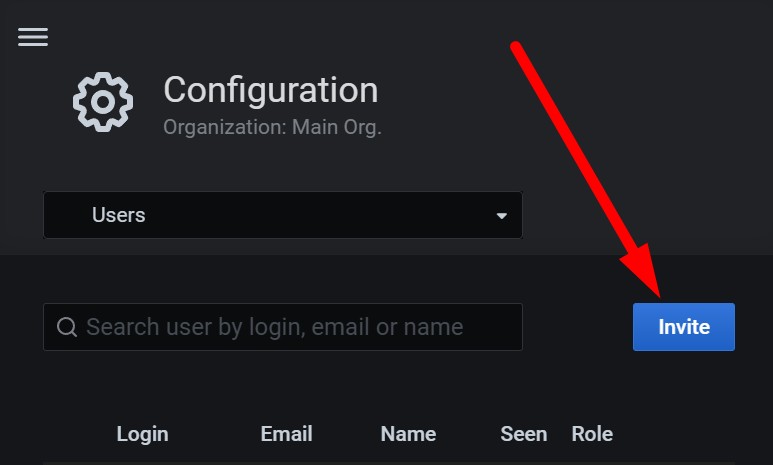
After that we are creating a new invitation clicking on blue Invite button:
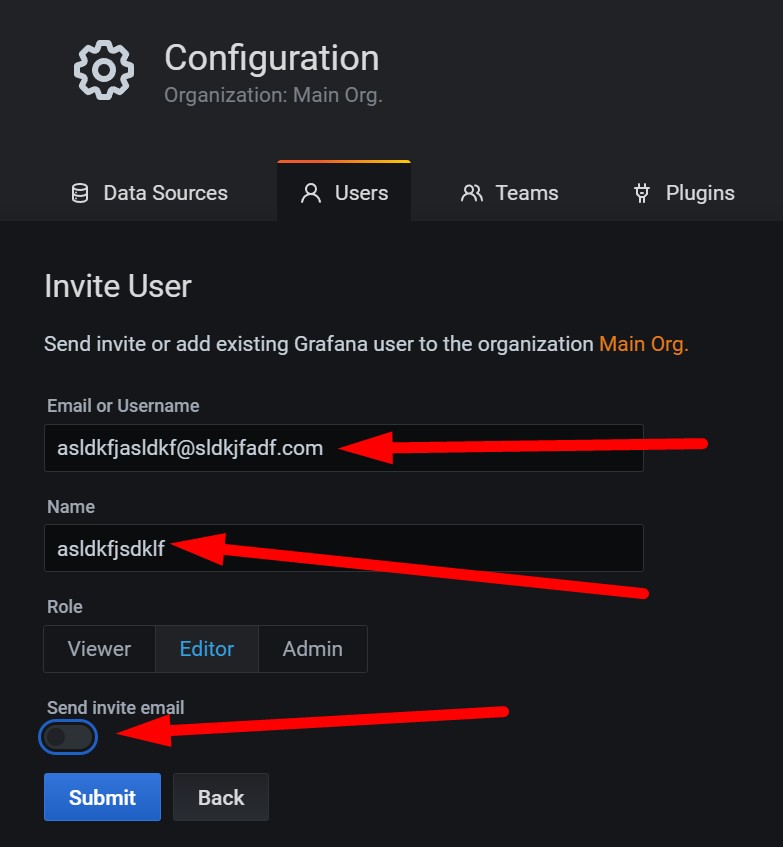
Now we have to fill the form with user details. In this case it doesn't matter, what details we are filling (can be non-existant or fake, because we will change them later).
- Don't forget to uncheck "Send invite email" option.
- Select needed access right option for a new user (if you forget to do it or you don't know yet, it can be changed later as well).
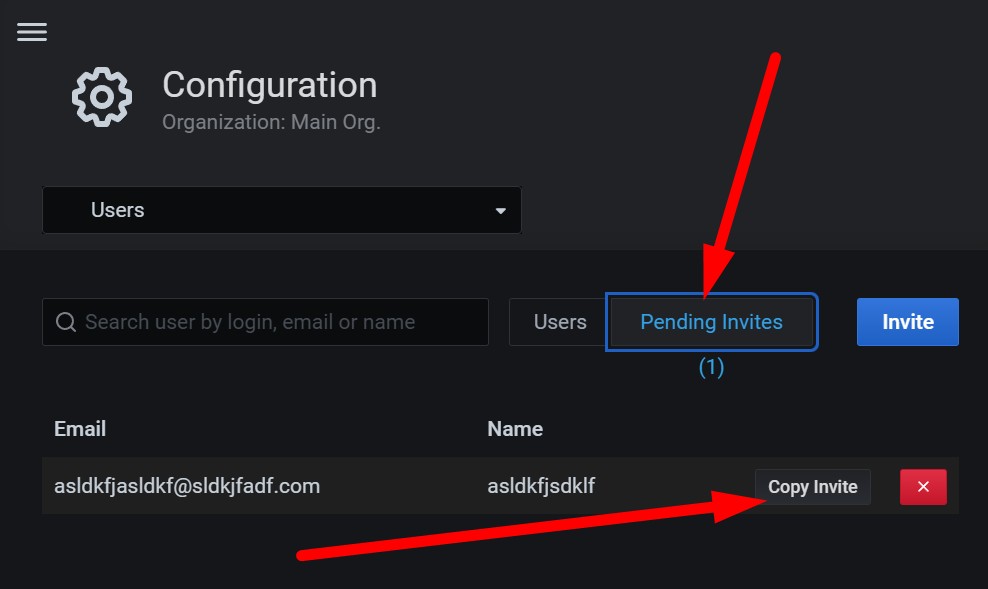
After that we will see our invite in Pending Invites tab. Then we need to copy the invitation link by clicking "Copy Invite" button:
Step 2: Create a user
Once we have the invitation link, we need to create a user. You can log out from your admin sesstion in Grafana and open a new session, or you can do it simultaneously by using another browser (for example, your current session is in Chrome, then you can open, for example, Brave browser or Edge).
Now you have to paste copied invitation link into address bar in your browser and fill all the details. You can put any data here and you can even set up a password for a new user.
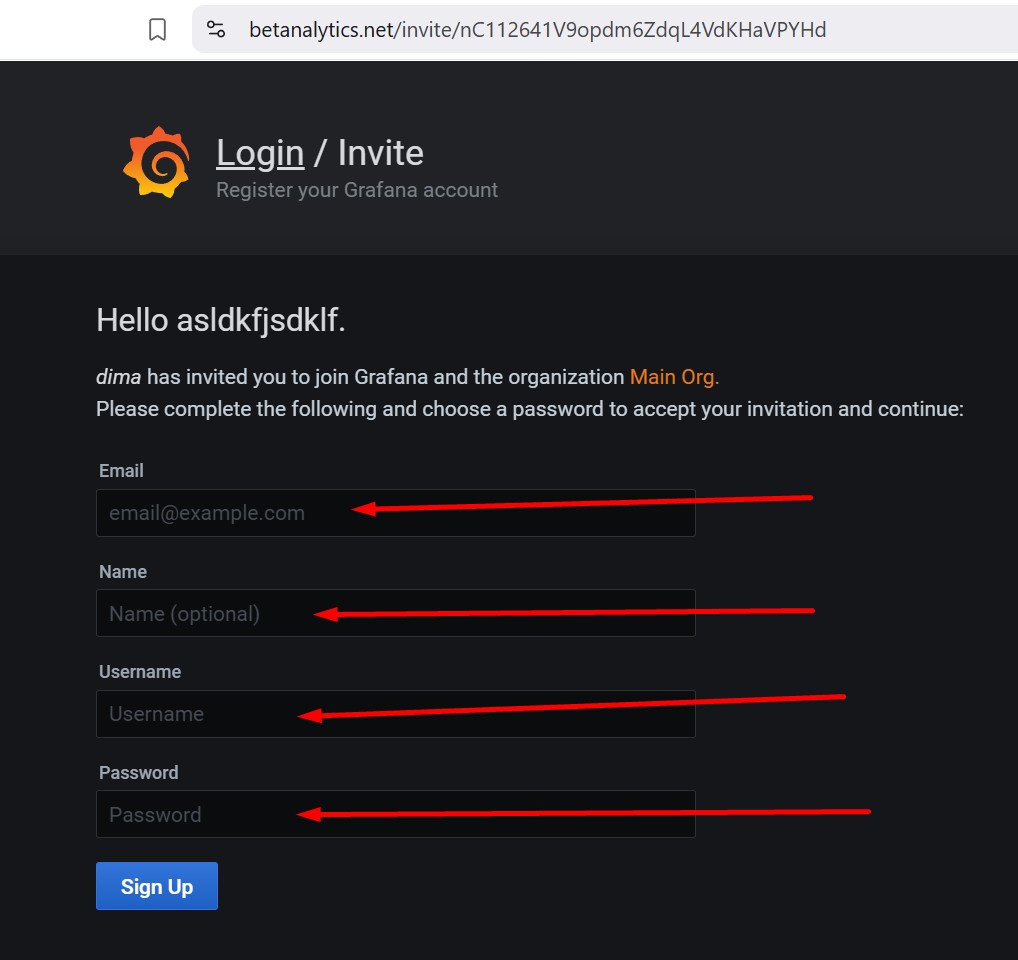
Keep in mind, that mail address of a user is essential while restoring a forgotten grafana password, for example. Grafana newly doesn't allow admin to change users' passwords manually. According to this new rule it's better put existing e-mail, otherwise you will be forced to re-created the user again.